Photo: Ernest Roy/Pixabay
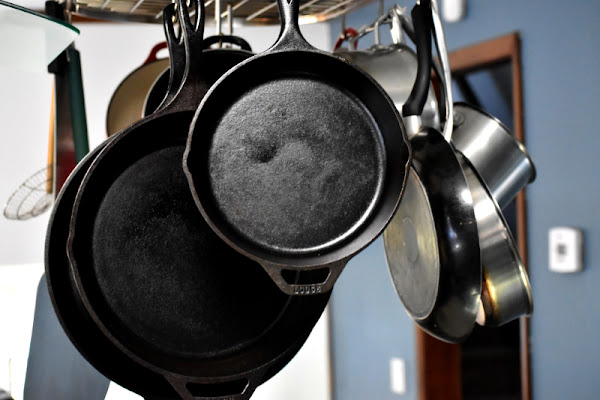
Cast iron cookware has made a comeback in recent years, and for good reason. It's durable and inexpensive, plus it can be used for years without losing its effectiveness. Cast iron is also incredibly versatile. It can be used on the stovetop or in the oven and will retain heat well enough to keep your food warm after you take it off the stove. But there are some things that you should know before using cast iron so that your cooking experience remains pleasant.
Avoid washing cast iron in the dishwasher
Since this type of cookware is perfect for
different recipes, you might be tempted to wash it in the dishwasher. However, caring for your cast iron cookware will require special treatment:
Avoid washing cast iron in the dishwasher.
Cast iron is very durable, and you can wash it by hand, but dishwashers are not kind to it. The high heat and harsh detergents can damage your cookware, causing rust spots or warping, making the pan unusable.
Try using a stiff brush to remove stuck-on food if you're looking for an easy way to clean up after cooking with cast iron. You can do it before wiping out any remaining residue with paper towels or kitchen cloths soaked in hot soapy water. Then, rinse any food particles left behind before drying thoroughly with a clean cloth or paper towel.
Make sure to season it every few months
Seasoning is a coating of oil that helps prevent rust. It is essential to season your cookware regularly and renew it every few months or whenever you wash the pan.
Seasoning should be renewed after washing because soap removes the seasoning and leaves a sticky film behind, which can attract more dirt and dust than if there were no seasoning at all!
If you're feeling adventurous, try an off-the-shelf product like Barkeeper's Friend or Easy Off Oven Cleaner. Both are cornstarch-based cleaners that gently remove stubborn stains while adding another layer of protection against
rust.
Use salt instead if you want to go natural with your cleaning methods. All you need to do is sprinkle some coarse salt on top of any stubborn food residue before heating some water over medium heat until it boils. Then, let everything sit for about 15 minutes so everything gets nice and softened before rinsing off again. Just make sure to do this once it's cool enough not to burn yourself. This should take care of just about anything except egg yolks.
Don't use soap on cast iron cookware
Since you can make everything from cooked dishes to
homemade pizza with this cookware, you should know how to clean it. However, one of the biggest mistakes is using soap on cast iron cookware.
Soap can strip away the seasoning, leaving your pan vulnerable to rust. Not to mention it's easier for food to stick to it. If you're using a pan for sauteing meat or vegetables, it's best to wipe it down with oil after use instead of washing it with soap. The fat will help protect your pan from oxidation and keep it looking shiny!
Clean the surface of your cast iron with a sponge and water only
Hot water and a sponge are the best way to clean your cast iron cookware. Do not use soap or any other cleaning product unless you are trying to remove food residue from the pan's surface.
If so, scrub gently with soap and water and dry immediately after washing off all traces of soap from your cast iron pan.
You can also use a Scotch-Brite pad or steel wool. These products will help remove any burned-on food residue from your cast iron pan. Rinse the piece well with hot water, and then dry it thoroughly before storing. Store cast iron flat when it's not being used When you're not using your cast iron cookware, it's important to store it flat. If you need to
set up your new kitchen after moving in, make sure to find enough place to store your cast iron cookware. If you keep it flat, it will prevent rusting and allow the oil that naturally builds up in the pan to seep back into the pores of the metal.
Don't stack your pans on top of each other – this will cause them to scratch and damage each other over time.
Make sure not to store it in an oven or microwave – the heat from these appliances can warp or crack the handles of your pans.
Don't put them in a dishwasher – the harsh chemicals used by most detergents are damaging for any cookware, but especially so for cast iron since they'll strip away any seasoning from previous uses as well as leave behind residue that may cause food sticking problems later on down the road.
Cast iron can last for decades if you treat it right
Cast iron cookware is durable, long-lasting, and versatile. It can be used on the stovetop or in the oven, over an open fire, and even under a broiler if you're feeling adventurous. Cast iron is also easy to clean – wipe it out with a paper towel when you're done cooking!
However, it's important not to get your cast iron too hot: never put any part of your body near direct heat while cooking with cast iron. This includes touching handles or lids. Keep these items away from anything that could cause burns when exposed to high temperatures for extended periods.
As you can see, making food with
this cookware has many benefits. Cast iron must be seasoned before use. This process creates a protective coating on its surface which helps prevent rusting over time. Also, it makes food stick less often than regular stainless steel pans do.
There's no need for soap or oil during washing up afterward either – just rinse under running water until all residue has disappeared. Then, wipe them dry with paper towels before storing them away.
Cast iron is an excellent investment for any kitchen. It's durable, lasts forever, and can provide delicious meals for years if you take care of it properly. We hope that this guide has helped you understand how to care for your cast iron cookware so that it will last even longer!
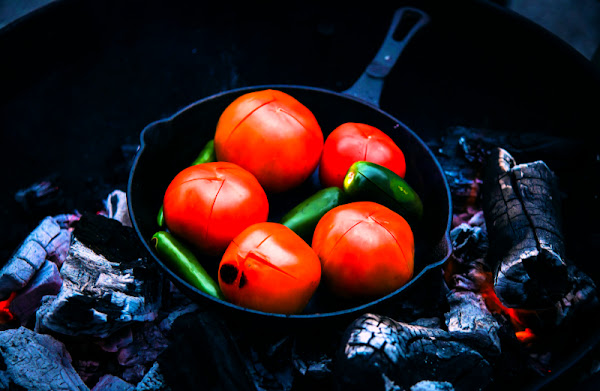
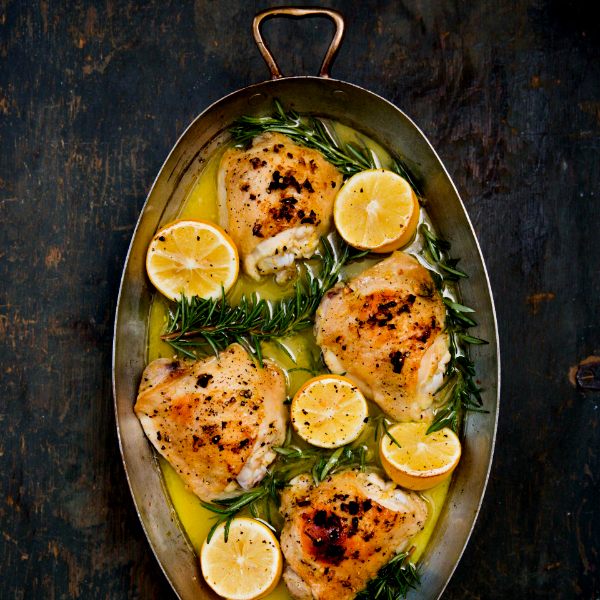
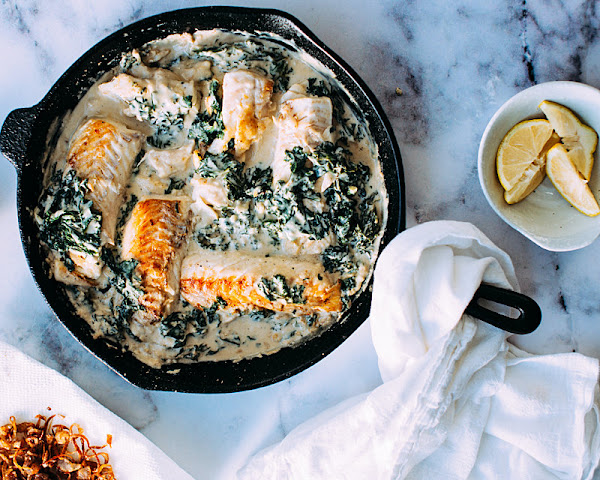
Every kitchen needs an assortment of cast iron cookware. Cooking with cast iron pans not only infuses iron into food, it enhances the natural flavor in our favorite warm food items.
Photo: Memoaaguilar/Pixabay


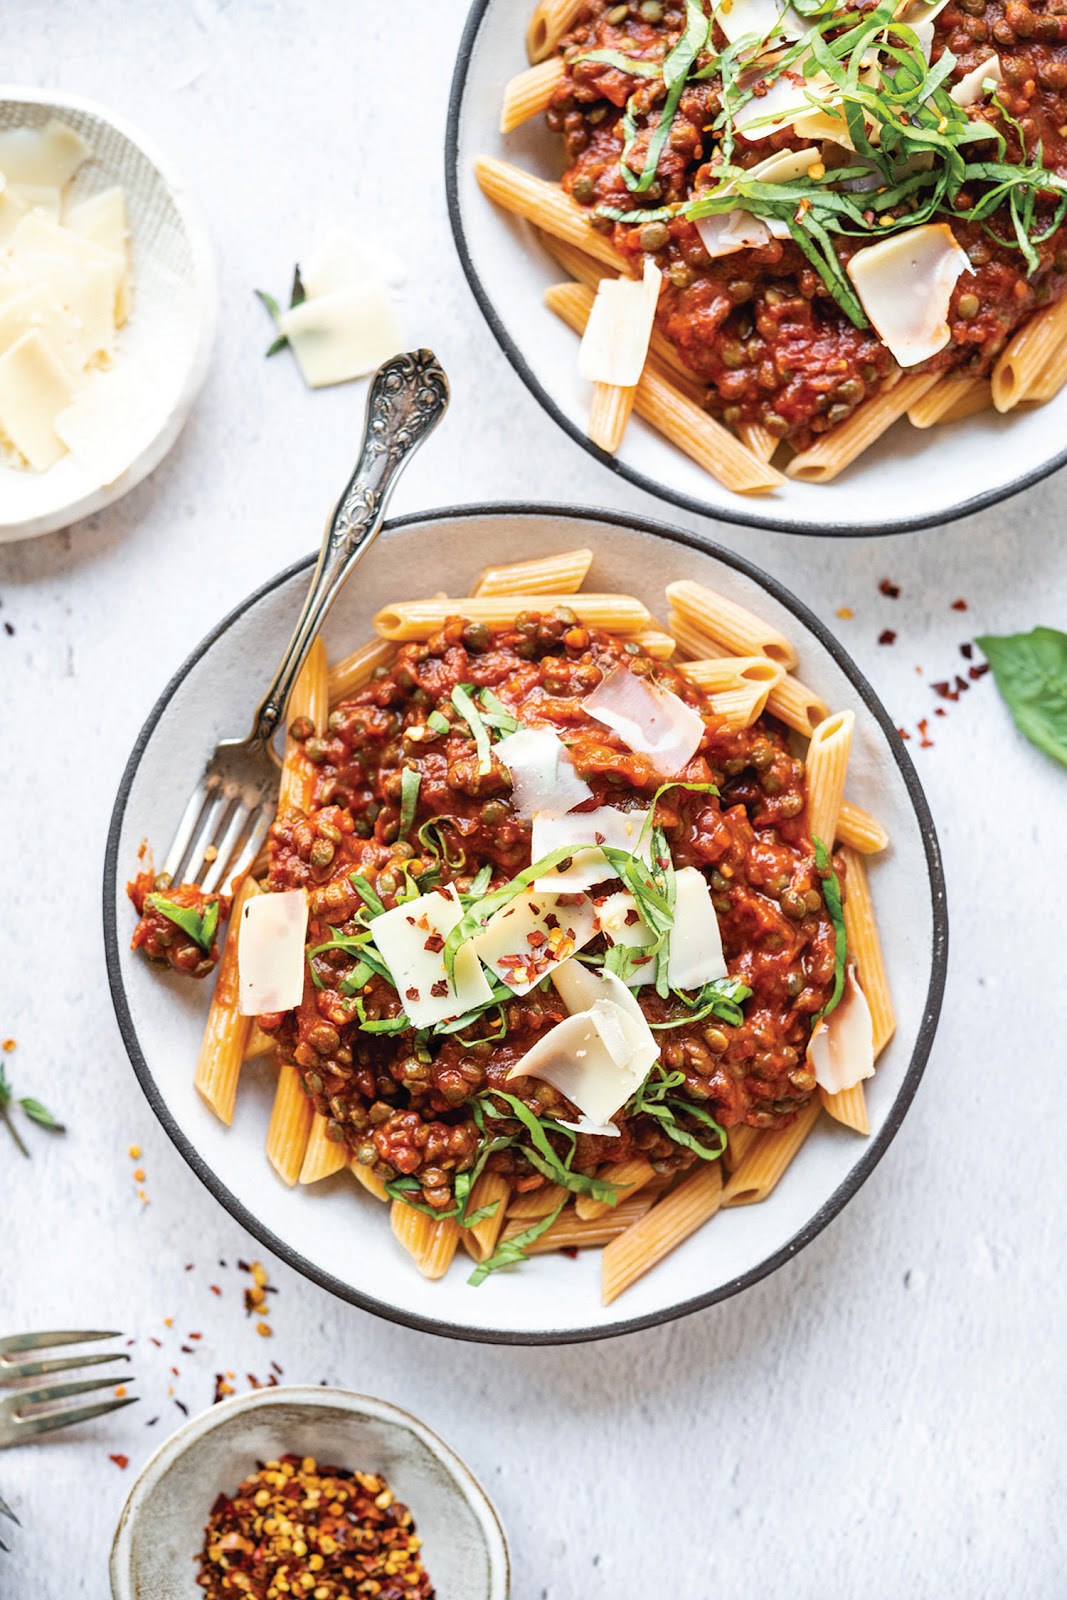
 Family Features - From salads and snacks to breakfast, lunch and dinner, rounding out a full menu of healthy meals shouldn't be a chore. In fact, you can still enjoy your favorite flavors and tickle your taste buds with nutritious recipes that capitalize on powerful ingredients you actually want to eat. Starting the new year with fresh intentions, whether you're trying to reset for 2023 or simply add more greens to your meals, begins with delicious, nutritious and easy recipes.
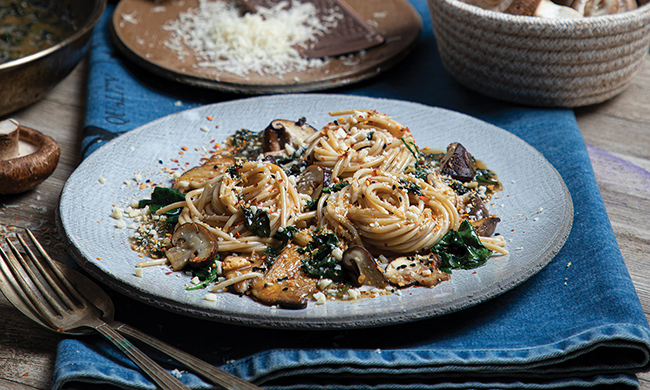
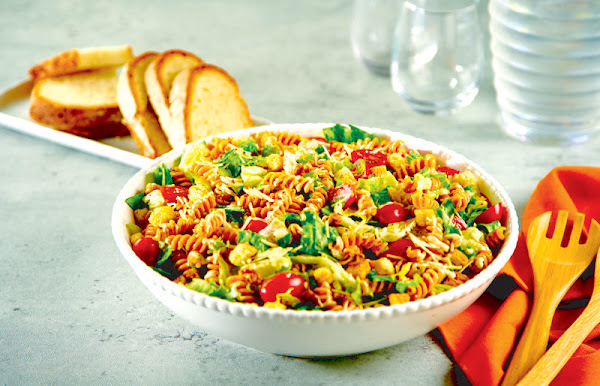
This recipe is another fresh twist on pasta salad can make lunches or your evening side dish an enjoyable way to stay on track.
With more than 100 varieties of fresh, healthy and convenient ready-to-eat salads, Fresh Express provides plenty of inspiration, information and incentives to help you achieve your goals. For example, this Pesto Pasta Salad features red lentil rotini and Twisted Pesto Caesar Chopped Salad Kits loaded with a fresh blend of crisp iceberg and green leaf lettuces, crunchy garlic brioche croutons, Parmesan cheese and creamy pesto dressing. Add fresh grape tomatoes and toasted walnuts for a simple side or easy lunch that can be made ahead of time.
Family Features - From salads and snacks to breakfast, lunch and dinner, rounding out a full menu of healthy meals shouldn't be a chore. In fact, you can still enjoy your favorite flavors and tickle your taste buds with nutritious recipes that capitalize on powerful ingredients you actually want to eat. Starting the new year with fresh intentions, whether you're trying to reset for 2023 or simply add more greens to your meals, begins with delicious, nutritious and easy recipes.
This recipe is another fresh twist on pasta salad can make lunches or your evening side dish an enjoyable way to stay on track.
With more than 100 varieties of fresh, healthy and convenient ready-to-eat salads, Fresh Express provides plenty of inspiration, information and incentives to help you achieve your goals. For example, this Pesto Pasta Salad features red lentil rotini and Twisted Pesto Caesar Chopped Salad Kits loaded with a fresh blend of crisp iceberg and green leaf lettuces, crunchy garlic brioche croutons, Parmesan cheese and creamy pesto dressing. Add fresh grape tomatoes and toasted walnuts for a simple side or easy lunch that can be made ahead of time.